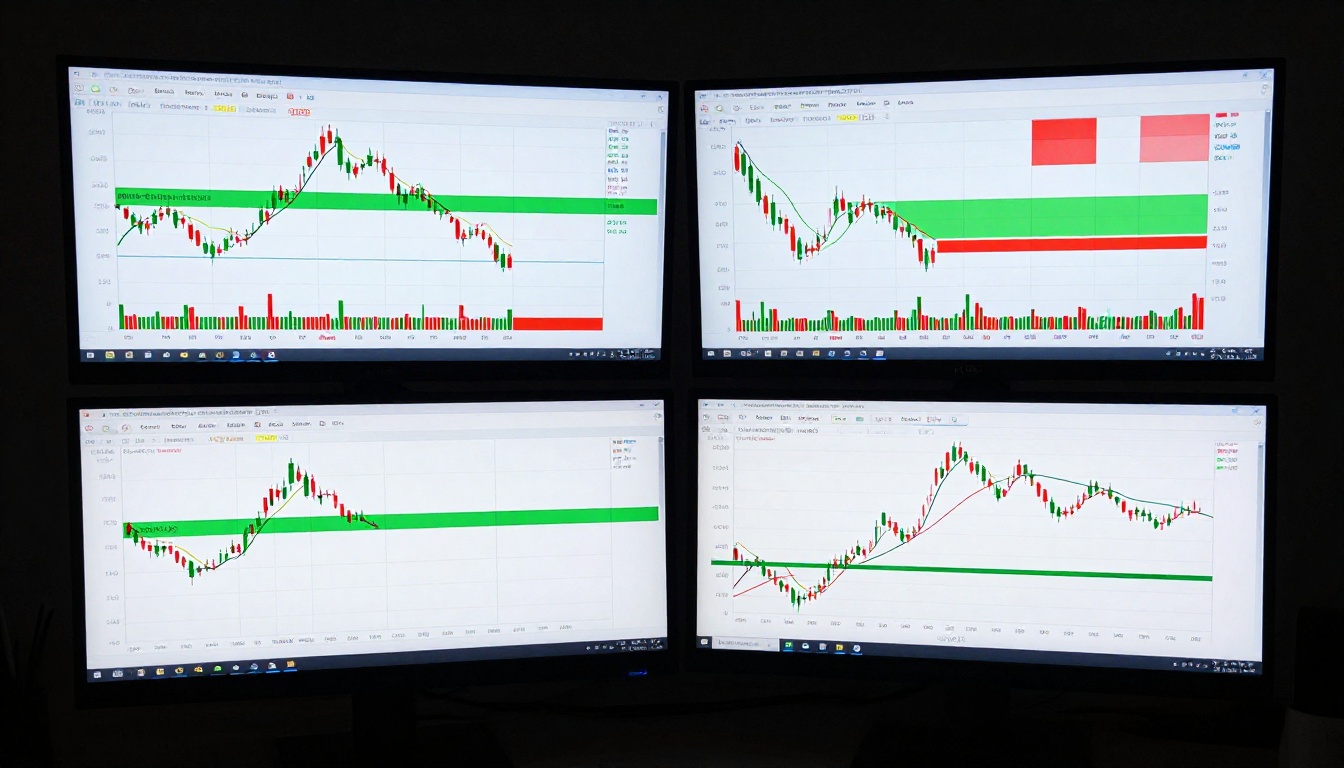
Support and resistance is the most fundamental concept in technical analysis. Every chart pattern, every indicator, every trading strategy ultimately comes back to the question: where is price likely to stall or reverse? But most traders learn it wrong. They draw dozens of lines across their charts, treat every minor swing as a "key level," and end up with a mess that tells them nothing useful. The goal is not to find every possible level. It is to find the few that actually matter.
What Support and Resistance Actually Are
At the most basic level, support is a price area where buying pressure tends to overwhelm selling pressure, causing price to bounce. Resistance is the opposite: a zone where sellers step in and push price back down. Simple enough on paper. But understanding why these levels work is what separates useful analysis from line-drawing theater.
Two forces make support and resistance levels hold. The first is psychology. Traders remember prices. If a stock bounced hard off 150 three times last year, every trader watching that chart is aware of it. When price approaches 150 again, some buyers step in early because they expect the bounce. Others have standing limit orders at that price. Sellers, meanwhile, become hesitant — they have seen what happens at that level. This collective memory creates a self-reinforcing dynamic.
The second force is order flow. Large institutional traders do not buy or sell in one shot. They work into positions over days or weeks, often accumulating around specific price zones. When price returns to the zone where a fund built a position, that fund has a vested interest in defending it. Their residual buy orders, or new ones placed to add to the position, create tangible buying pressure that shows up on the chart as support.
This is why freshly formed levels tend to be stronger than ancient ones. The orders are still there. A support level from six months ago might hold. One from five years ago probably has less real order flow behind it.
Types of Support and Resistance
Not all levels are created equal, and not all are drawn the same way. Here is how the main types compare.
Types of Support and Resistance Levels
| Type | How to Identify | Strengths | Weaknesses |
|---|---|---|---|
| Horizontal Levels | Previous swing highs/lows, consolidation zones | Easy to spot, widely watched, work on all timeframes | Can cluster together, subjective placement |
| Trendlines | Connect 2+ swing lows (support) or highs (resistance) | Show dynamic trend direction, good for trending markets | Highly subjective angle, break easily in choppy markets |
| Moving Averages | 20, 50, 100, 200 EMA/SMA | Objective and repeatable, no subjectivity | Lag behind price, less effective in ranging markets |
| Fibonacci Retracements | 38.2%, 50%, 61.8% of a measured swing | Popular among traders, provide structure in pullbacks | No inherent market logic, work mainly via self-fulfilling belief |
| Round Numbers | .00 levels (e.g., 100, 50, 1.2000 in forex) | Strong psychological impact, easy to remember | Not always respected, better as confluence than standalone |
Horizontal Levels
These are the bread and butter. A price that has been tested as support or resistance multiple times, with visible reactions, is a horizontal level worth tracking. The key distinction: look for zones, not exact prices. Markets do not reverse at 149.97 every single time. They reverse in the area around 150. Draw your levels as zones roughly 0.5-1% wide rather than single lines, and you will save yourself a lot of false-signal frustration.
Dynamic Support and Resistance
Moving averages and trendlines move with price, which is why they are called dynamic levels. The 200-day simple moving average is probably the most-watched dynamic level in equities. When price pulls back to it after an extended rally, institutional traders often treat it as a buy zone. The 50-day moving average plays a similar role on a shorter timeframe. In forex, the 20 EMA on the 4-hour chart is popular among swing traders.
Trendlines require more judgment. The rule of thumb is that a trendline needs at least two clear touches to exist and three to be considered validated. But be honest with yourself: if you have to squint and adjust the angle three times to make a trendline "work," it is probably not a real level. The best trendlines are obvious.
Psychological Round Numbers
Round numbers matter because humans are psychologically anchored to them. A stock trading at 99.50 feels cheap relative to 100. A stock at 100.50 feels like it has "broken out." In forex, the .0000 levels (like EUR/USD at 1.1000) consistently produce reactions. These are rarely strong enough to be standalone levels, but when a round number lines up with a horizontal level or moving average, the confluence makes it significantly more reliable.
How to Validate a Level
This is where most beginners go wrong. They see price touch a level once, draw a line, and call it support. That is not validation. A genuinely useful level has multiple pieces of evidence behind it. Before you add any level to your chart, run it through this checklist.
Support/Resistance Validation Checklist
| Criteria | What to Look For | Importance |
|---|---|---|
| Multiple Touches | Price reacted at the level 2+ times with visible bounces | Critical |
| Timeframe Confluence | Level is visible on your trading timeframe AND a higher timeframe | Critical |
| Volume Confirmation | Increased volume on the bounce or rejection at the level | High |
| Clean Reactions | Sharp, decisive moves away from the level (not slow, grinding price action) | High |
| Recency | Level formed within the last 6-12 months for swing trading | Medium |
| Confluence with Other Tools | Lines up with a moving average, Fibonacci level, or round number | Medium |
| Role Reversal | Former support that now acts as resistance, or vice versa | Strong Signal |
Timeframe confluence deserves special attention. A support level that only shows up on a 5-minute chart is noise. If that same level is also a clear swing low on the daily chart, it carries real weight. As a general rule, always check at least one timeframe above the one you trade on. If you trade the 1-hour chart, validate your levels on the 4-hour or daily. If you swing trade the daily, check the weekly.
Role reversal is another powerful filter. When a resistance level breaks and price comes back to retest it as support — and holds — that is one of the highest-conviction setups in technical analysis. The logic is straightforward: everyone who sold at that resistance level and was wrong is now underwater. When price returns to their entry, they are tempted to exit at breakeven rather than take a loss, which creates buying pressure that reinforces the new support.
The Biggest Beginner Mistake: Too Many Lines
Open a beginner's chart and you will often see ten or fifteen horizontal lines, multiple trendlines, and a handful of Fibonacci levels. The chart looks like a spiderweb. And the result is paralysis — with a level every 0.3% away, price is always "near" support or resistance, which means the analysis tells you nothing.
The fix is simple but uncomfortable: be ruthless about which levels you keep. On any given chart, you should have three to five levels that matter for your trading timeframe. That is it. If a level does not pass the validation checklist above, remove it. If two levels are so close together that the space between them is not tradeable, merge them into one zone. Your chart should have white space. If it does not, you have drawn too many lines.
The best support and resistance analysis is the one with the fewest lines that explain the most price action.
A useful exercise: remove all the lines from your chart. Then add them back one at a time, starting with the most obvious level. After each line you add, ask yourself whether it changes your trading decisions. If it does not, you do not need it.
Putting It Into Practice
Here is how to build a practical workflow around support and resistance.
Step 1: Start on the higher timeframe. Open the weekly or daily chart. Identify the two or three most obvious horizontal levels where price has reacted strongly and recently. Mark these as your major levels.
Step 2: Drop to your trading timeframe. Add one or two additional levels that are visible at this resolution but not on the higher timeframe. These are your minor levels. They are useful for entries and exits but less reliable for predicting major reversals.
Step 3: Check for confluence. Does your horizontal level align with a key moving average (50 or 200 day)? A round number? A Fibonacci retracement of the most recent major swing? Each additional layer of confluence increases the probability that the level will produce a reaction.
Step 4: Plan your trades around the levels, not between them. The tradeable moments happen when price approaches a key level, not when it is drifting through no-man's-land in the middle of a range. Wait for price to reach your level, watch for a reaction (a rejection candle, a volume spike, a failed breakdown), and then act.
Step 5: Respect the break. Levels do not hold forever. When a support level breaks with conviction — a strong close below it on above-average volume — it is no longer support. Do not sit there hoping it will reclaim. Reassess. The broken support is now potential resistance, and the next level down becomes your new reference point.
Risk Considerations
Support and resistance is not a crystal ball. Levels fail regularly, especially during high-impact news events, earnings releases, or shifts in macro sentiment. A level that has held five times can break on the sixth. Building your entire strategy around the assumption that a level will hold is a recipe for outsized losses.
Always use a stop loss. If you are buying at support, your stop goes below the zone — not at the exact level, but below the lower boundary of the zone with a small buffer. If the level fails, you want to be out, not hoping. The trade idea is invalidated.
Be especially cautious with trendlines and Fibonacci levels. These are the most subjective types of support and resistance, and two experienced traders can draw completely different lines on the same chart. If your analysis depends entirely on a trendline that you had to adjust three times, the level is probably not as reliable as you think.
Key Takeaways
Support and resistance works because of trader psychology and real order flow — not because lines on a chart have magical properties. The levels that matter most are the ones with multiple touches, volume confirmation, and timeframe confluence. Horizontal levels are the most reliable. Dynamic levels like moving averages add valuable context. Round numbers and Fibonacci levels work best as confluence factors, not standalone signals.
Keep your charts clean. Three to five levels per chart is enough. Validate every line you draw. And always plan for the possibility that the level breaks, because eventually, it will.
Looking for brokers, trading platforms, and investment tools? Browse our curated directory:
Disclaimer: This content is for educational purposes only and does not constitute financial advice. Trading involves substantial risk of loss. Past performance does not guarantee future results.